Precision radio controlled clocks offer unparalleled accuracy, automatically synchronizing with atomic time servers for consistently correct timekeeping, eliminating manual adjustments.
What are Precision Radio Controlled Clocks?
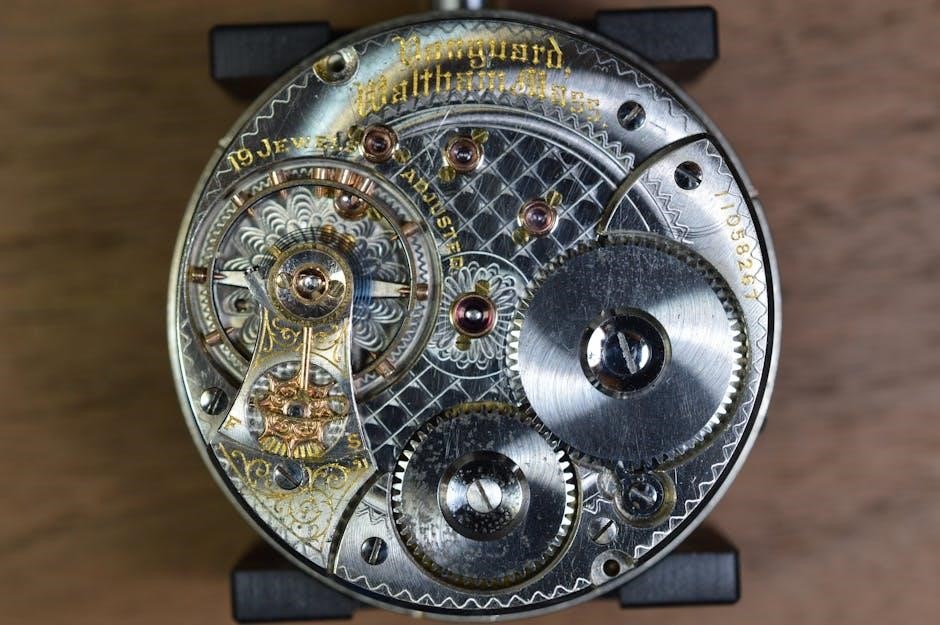
Precision radio controlled clocks, often called atomic clocks, are timekeeping devices that synchronize themselves to an atomic clock signal broadcast by national standards organizations. Unlike traditional clocks that rely on quartz crystals which can drift over time, these clocks receive a time signal transmitted via radio waves.
This signal provides incredibly accurate time data, ensuring your clock remains within a fraction of a second of the correct time. They aren’t actually powered by atomic energy; the “atomic” refers to the source of the time standard – atomic oscillations.
These clocks automatically adjust for Daylight Saving Time in participating regions, further simplifying ownership. They represent a convenient and reliable solution for those who value precise timekeeping without the hassle of frequent manual adjustments. They are available in a wide variety of styles, from classic analog designs to modern digital displays.
Why Choose a Radio Controlled Clock?
Radio controlled clocks offer significant advantages over conventional timepieces. The primary benefit is their exceptional accuracy; they maintain time with remarkable precision, minimizing the need for manual adjustments. This is particularly useful for schedules, appointments, and time-sensitive tasks.
Beyond accuracy, these clocks provide convenience. Automatic time synchronization eliminates the twice-yearly ritual of changing the clock for Daylight Saving Time, and they remove the annoyance of resetting after power outages.
Furthermore, they offer reliability. The atomic time signals are robust and widely available, ensuring consistent performance. Choosing a radio controlled clock is an investment in a dependable and hassle-free timekeeping solution, offering peace of mind and freeing you from the burden of constant clock maintenance.

Understanding the Technology
Radio controlled clocks utilize low-frequency radio signals broadcast by atomic clocks, enabling automatic and precise time synchronization worldwide, consistently and reliably.
How Radio Controlled Clocks Receive Signals
Radio controlled clocks contain a specialized receiver designed to detect incredibly weak radio signals transmitted by atomic time servers. This receiver constantly scans for these signals, typically during nighttime hours when atmospheric interference is minimized. Upon detecting a valid signal, the clock’s internal circuitry decodes the time information – year, month, day, hour, minute, and second – and automatically adjusts the clock’s display accordingly.
The process isn’t instantaneous; it usually takes several minutes, or even hours, for the clock to fully synchronize, especially during the initial setup. Many clocks feature a signal strength indicator to show the quality of the received signal. Successful synchronization is often confirmed by a visual indicator on the clock face. Regular, automatic synchronization occurs daily, ensuring continued accuracy and eliminating the need for user intervention regarding time settings.
Signal Sources: DCF77, WWVB, JJY

Radio controlled clocks rely on specific, long-wave radio signals broadcast from atomic clocks around the globe. DCF77, based in Germany, serves most of Europe and is highly reliable. WWVB, operated by the National Institute of Standards and Technology (NIST) in Colorado, USA, covers North America. JJY, from Japan, provides signal coverage across Japan and surrounding areas.
The clock you purchase will be designed to receive one, or sometimes multiple, of these signals. It’s crucial to understand which signal is appropriate for your geographic location. Attempting to use a clock designed for DCF77 in North America, for example, will likely result in unsuccessful synchronization. Checking the clock’s specifications before purchase ensures compatibility and optimal performance. Signal strength and reception can vary based on location and environmental factors.
Factors Affecting Signal Reception
Several factors can influence a radio controlled clock’s ability to receive a signal. Location is paramount; proximity to sources of interference like electronic devices, metal structures, and even thick walls can weaken reception. Time of day also plays a role, as signal propagation can vary. Nighttime often provides better reception due to favorable atmospheric conditions.
Weather can impact signal strength, with storms and heavy cloud cover sometimes causing disruption. Indoor positioning is critical – avoid placing the clock in basements or near large metal objects. Antenna orientation, if adjustable, can be optimized for better signal capture. Finally, remember that these signals are low-frequency, requiring a quiet radio environment for successful synchronization. Consistent signal loss may indicate a need to relocate the clock.

Initial Setup & Preparation
Before enjoying your new clock, carefully unpack it and insert the correct batteries, ensuring proper polarity for optimal performance and synchronization.
Unboxing and Battery Installation
Carefully remove the clock from its packaging, retaining the box and packing materials for potential future transport or warranty claims. Inspect the clock for any visible damage that may have occurred during shipping. If damage is present, contact the retailer immediately.
Locate the battery compartment, typically found on the back of the clock. The compartment cover may require a small screwdriver to open. Insert the batteries according to the polarity markings (+ and -) clearly indicated inside the compartment. Most radio controlled clocks require AA or AAA batteries, but always confirm the correct type in the user manual.
Ensure the batteries are fresh and of good quality. Low battery power can interfere with signal reception and clock synchronization. Once the batteries are installed, replace the compartment cover securely. The clock should now power on and begin its initial search for a radio signal – this process can take several minutes.
Choosing the Right Location for Your Clock
Optimal placement is crucial for reliable signal reception. Avoid locating the clock in areas obstructed by thick walls, metal structures, or near electronic devices that emit radio frequency interference, such as computers, televisions, and microwaves.
Position the clock near a window, preferably facing the signal transmitter’s direction (DCF77 – Germany, WWVB – USA, JJY – Japan). Higher elevations generally offer better reception. Experiment with different locations within your home to find the spot with the strongest signal.
Keep the clock away from direct sunlight and extreme temperatures, as these can affect its performance. A stable indoor environment is ideal. Remember that signal strength can vary depending on your geographical location and surrounding conditions; patience and experimentation are key to successful synchronization.
Initial Synchronization – The First Time Setup
After battery installation, the clock will automatically begin searching for a time signal. This process can take several minutes, or even overnight, depending on signal strength and interference. During synchronization, a reception icon will typically flash or display a specific message, indicating it’s actively seeking a signal.
Avoid pressing any buttons during this initial search phase, as this could interrupt the process. Ensure the clock remains undisturbed in its chosen location. Once a signal is successfully received, the clock will automatically set the correct time and date, and the reception icon will usually become solid or disappear.

Some models may require a manual confirmation after synchronization. Refer to your clock’s specific manual for details. Successful initial synchronization establishes a reliable timekeeping baseline.
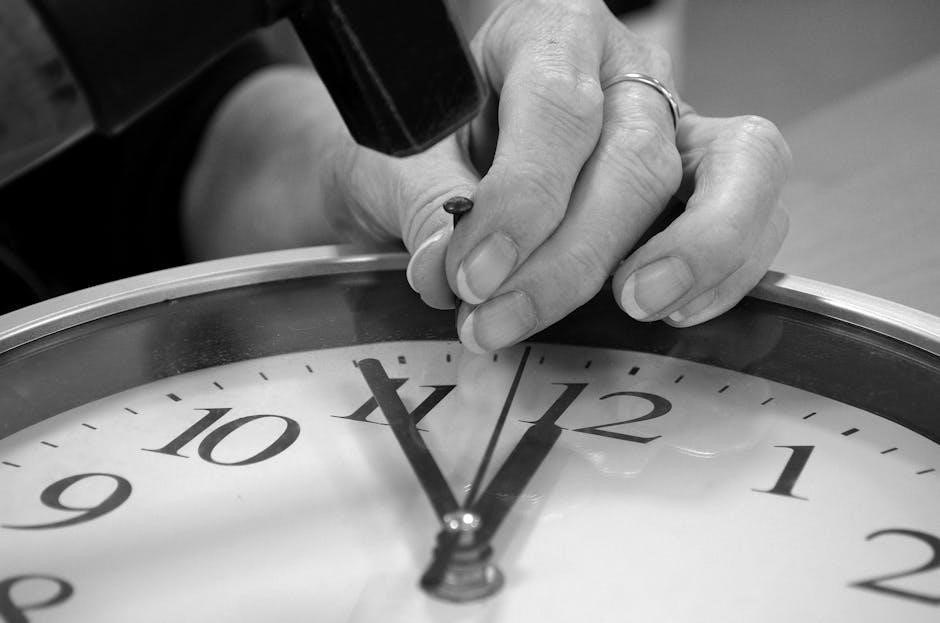
Manual Setting (If Automatic Fails)
If automatic synchronization proves unsuccessful, most radio controlled clocks offer a manual setting option, allowing you to input the correct time and date directly.
Accessing the Manual Setting Mode
Typically, accessing manual setting mode involves pressing and holding a designated button – often labeled “Set,” “Mode,” or “Adjust” – for several seconds. The clock’s display will usually indicate entry into this mode, perhaps by a flashing indicator or a change in the displayed information.
Consult your clock’s specific manual, as the exact procedure varies between manufacturers and models. Some clocks require a small tool, like a pen or paperclip, to depress a recessed button on the back or underside. Others might involve a sequence of button presses.
Be patient; it may take a few attempts to trigger the manual setting mode. Once activated, the display will generally highlight the first setting to be adjusted, usually the year. From there, you can cycle through the date and time components using other buttons.
Setting the Year, Month, and Day
Once in manual setting mode, use the designated “Up” and “Down” buttons (or similar) to adjust the year. Pressing the “Next” or “Mode” button will then move you to the month setting. Continue adjusting with the “Up” and “Down” buttons until the correct month appears.
Repeat this process for the day. Pay close attention to the display; some clocks use a 24-hour format, while others use AM/PM. Ensure you’re setting the correct date format for your region.
After setting the day, pressing “Next” or “Mode” will typically move you to the hour setting. Double-check all entered values before proceeding, as incorrect date settings can affect the clock’s overall accuracy and future synchronization attempts.
Setting the Hour and Minute
With the date correctly set, navigate to the hour setting using the “Next” or “Mode” button. Utilize the “Up” and “Down” buttons to adjust the hour. Be mindful of whether your clock operates on a 12-hour or 24-hour format; select accordingly.
After setting the hour, press “Next” or “Mode” again to access the minute setting. Adjust the minutes using the “Up” and “Down” buttons until the correct value is displayed.
Once both the hour and minute are accurately set, confirm your changes. This is usually done by pressing the “Set” or “Mode” button one final time. The clock should then begin operating on the manually entered time until it can successfully synchronize with a time signal.

Troubleshooting Common Issues
If synchronization fails, review placement, interference, and battery levels; manual setting offers a temporary solution until a signal is reliably received.
Clock Not Receiving a Signal – Common Causes
Several factors can prevent your radio controlled clock from receiving a time signal. Firstly, physical obstructions like thick walls, metal structures, or being located in a basement can significantly weaken the radio signal. Secondly, electronic interference from devices such as computers, televisions, and even some LED lighting can disrupt reception. Thirdly, distance from the signal transmitter plays a role; the further you are, the weaker the signal becomes.
Additionally, atmospheric conditions, though less frequent, can sometimes affect signal propagation. Ensure the clock isn’t positioned near large metal objects or within enclosed spaces. Finally, low battery power can hinder the receiver’s ability to detect and process the faint time signal. Regularly check and replace batteries as needed to maintain optimal performance and signal reception capabilities.
Weak Signal Strength – Improving Reception
If your clock exhibits a weak signal, several adjustments can enhance reception. Firstly, relocate the clock to a different position, ideally closer to a window and away from potential sources of interference like electronic devices and metal objects. Secondly, try rotating the clock; signal reception can be directional. Thirdly, ensure the clock has fresh batteries, as low power can weaken the receiver’s sensitivity.
Consider temporarily moving the clock to a known good location to confirm if the issue is with the placement or the clock itself. Avoid placing the clock inside metal cabinets or near large appliances. Finally, during initial synchronization, avoid manually interfering with the clock; allow it ample time to search for and lock onto the time signal for optimal, consistent accuracy.
Clock Losing Time After Initial Sync
If your radio controlled clock consistently loses time despite successful initial synchronization, investigate potential ongoing interference. Check for newly introduced electronic devices near the clock that might be emitting disruptive signals. Ensure the clock isn’t positioned near thick walls or within metal enclosures, which can impede signal reception over time. Periodically verify the clock is still receiving a valid signal – most models display a signal reception icon.
Low battery power can also cause this issue; replace the batteries with fresh ones. In rare cases, a faulty clock mechanism might be the culprit. If the problem persists after addressing these factors, consult the manufacturer’s support or consider a replacement, as consistent time loss indicates an underlying problem.

Advanced Features & Customization
Explore personalized settings like time zones, daylight saving adjustments, and alarm configurations to fully optimize your radio controlled clock’s functionality and convenience.
Setting the Time Zone
Adjusting the time zone is crucial for ensuring your radio controlled clock displays the correct local time, especially when traveling or relocating. Most clocks offer a menu option dedicated to time zone selection. Access this menu, typically through a button press and hold, or a combination of button presses as detailed in your clock’s manual.
You’ll usually be presented with a list of major cities representing different time zones. Scroll through the list until you find a city within your current time zone. Selecting that city automatically sets the correct offset from Coordinated Universal Time (UTC). Some clocks allow for manual UTC offset adjustment if your specific location isn’t listed.
Confirm your selection after choosing the appropriate time zone. The clock should immediately update to reflect the correct local time. Double-check the displayed time against a reliable source to verify the setting is accurate. Incorrect time zone settings will cause discrepancies, even with successful signal reception.
Daylight Saving Time (DST) Adjustment
Daylight Saving Time (DST) adjustments are often handled automatically by radio controlled clocks, provided the DST settings are enabled within the clock’s menu; Locate the DST option, usually found within the time zone or general settings menu. Ensure it’s set to “Auto” or “On” to allow the clock to automatically spring forward and fall back with DST transitions.
If your region doesn’t observe DST, or if the clock incorrectly adjusts, set the DST option to “Off.” Some clocks may require you to manually specify the DST start and end dates. Refer to your clock’s manual for specific instructions on manual DST configuration.
Verify the DST setting before and after the transition dates to confirm correct operation. A properly configured clock will seamlessly adjust, maintaining accurate time throughout the year. Incorrect DST settings can lead to time discrepancies, so regular checks are recommended.
Alarm and Chime Settings
Setting the alarm on your radio controlled clock typically involves accessing the alarm menu, often indicated by a bell or clock icon. You’ll usually set the desired hour and minute for the alarm to trigger. Many clocks offer multiple alarms, allowing for different wake-up times. Explore options for snooze duration and alarm sound selection – choices often range from gentle melodies to more assertive beeps.
Chime settings control the hourly or half-hourly chime feature. Access the chime menu to adjust the chime volume, select a chime tone, or disable the chime altogether. Some clocks offer a “silent” period during nighttime hours to prevent disturbances.
Test your alarm and chime settings to ensure they function as expected. Refer to your clock’s manual for detailed instructions specific to your model, as menu structures can vary.